In this guide, we will show you how to use WorldMap Pro to build a professional-grade map in minutes—without writing a single line of code or worrying about your data privacy[cite: 7].
1. Choosing Your Map Layout
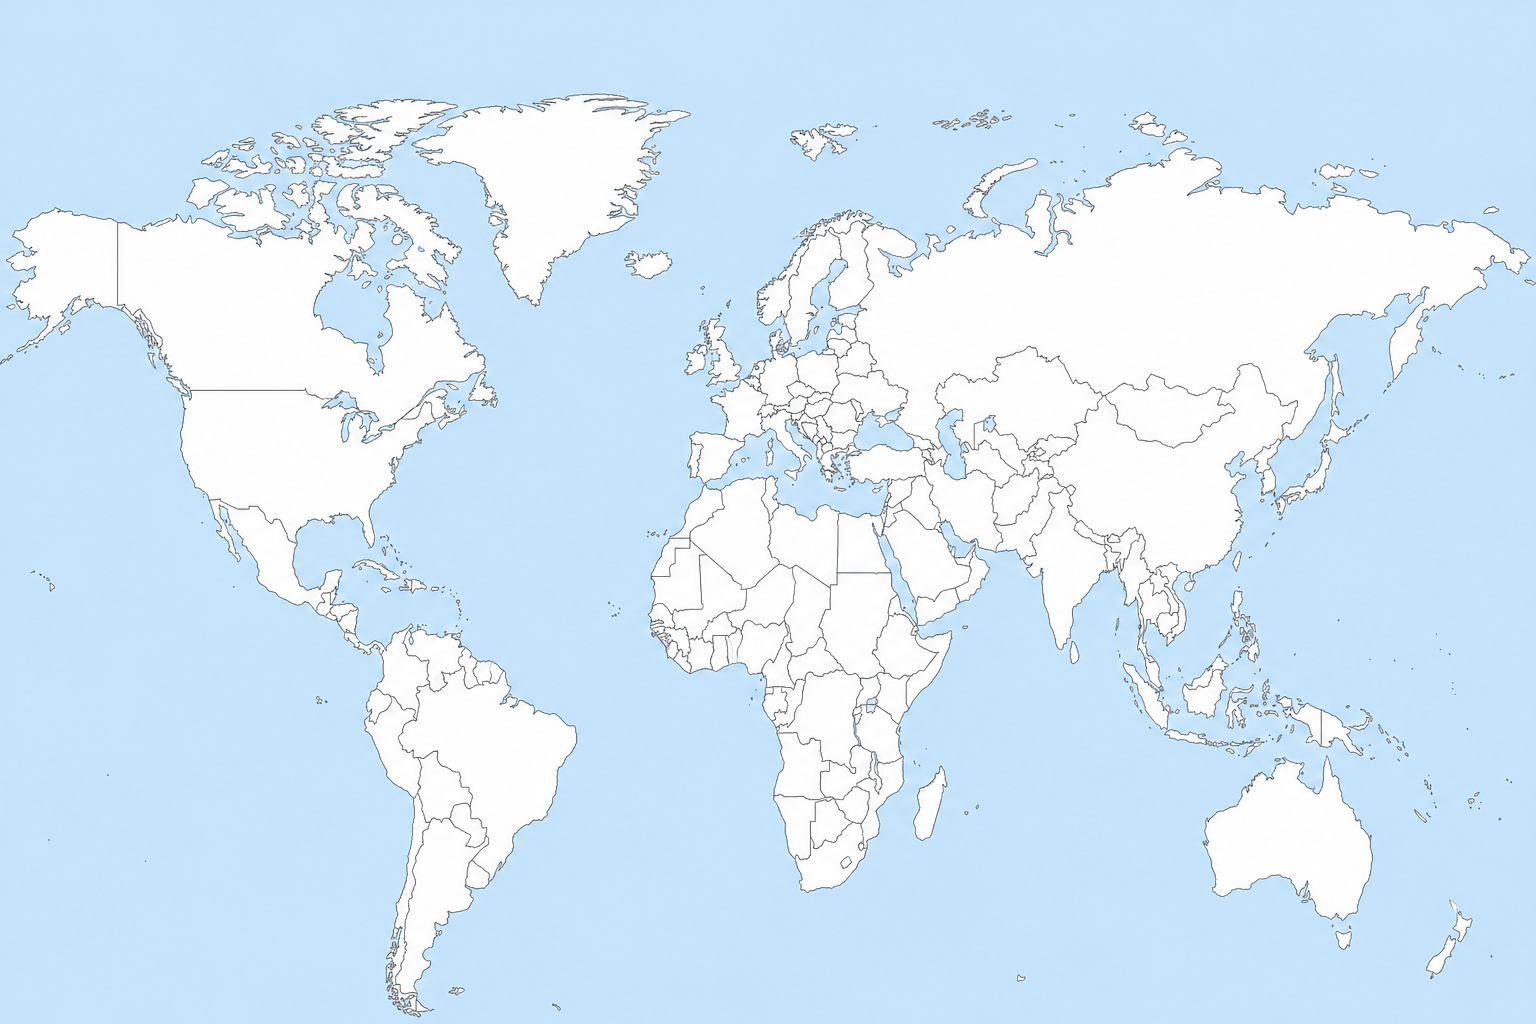
The first step in creating your custom map is deciding the scope. Are you looking at a global perspective, or do you need to focus on a specific continent like Europe or Asia?
With our tool, you can start with a blank world map and instantly toggle between different projections to ensure your data is represented accurately[cite: 6].
2. Color-Coding Countries & Regions
Visualizing data is easiest through color. You can use this for several creative purposes[cite: 7]:
- Travel Trackers: Color countries you’ve lived in blue and your "future" destinations in gold[cite: 7].
- Educational Plans: Use the tool to identify continents, color-code historical empires, or mark climate zones[cite: 7].
- Business Outreach: Highlight where your products have shipped or where your remote team is located[cite: 7].
SEO Tip: When using maps on your blog, always include descriptive alt text for your exported images to help with Google Image search rankings!
3. Adding Interactive Pins & Data
While colors tell one story, pins tell another. By adding markers to specific cities or territories, you can provide deeper context. On WorldMap Pro, all processing is local, meaning you can add your data safely without it being uploaded to a server[cite: 7, 8].
4. Exporting for Web and Print
Once your masterpiece is finished, you need to share it. You have two primary options:
High-Resolution PNG
Best for blog posts, presentations, and social media. Our tool exports at high-resolution for crystal-clear quality[cite: 7].
Printable PDF
Perfect for geography learning, school exams, or travel tracking on physical paper[cite: 6].