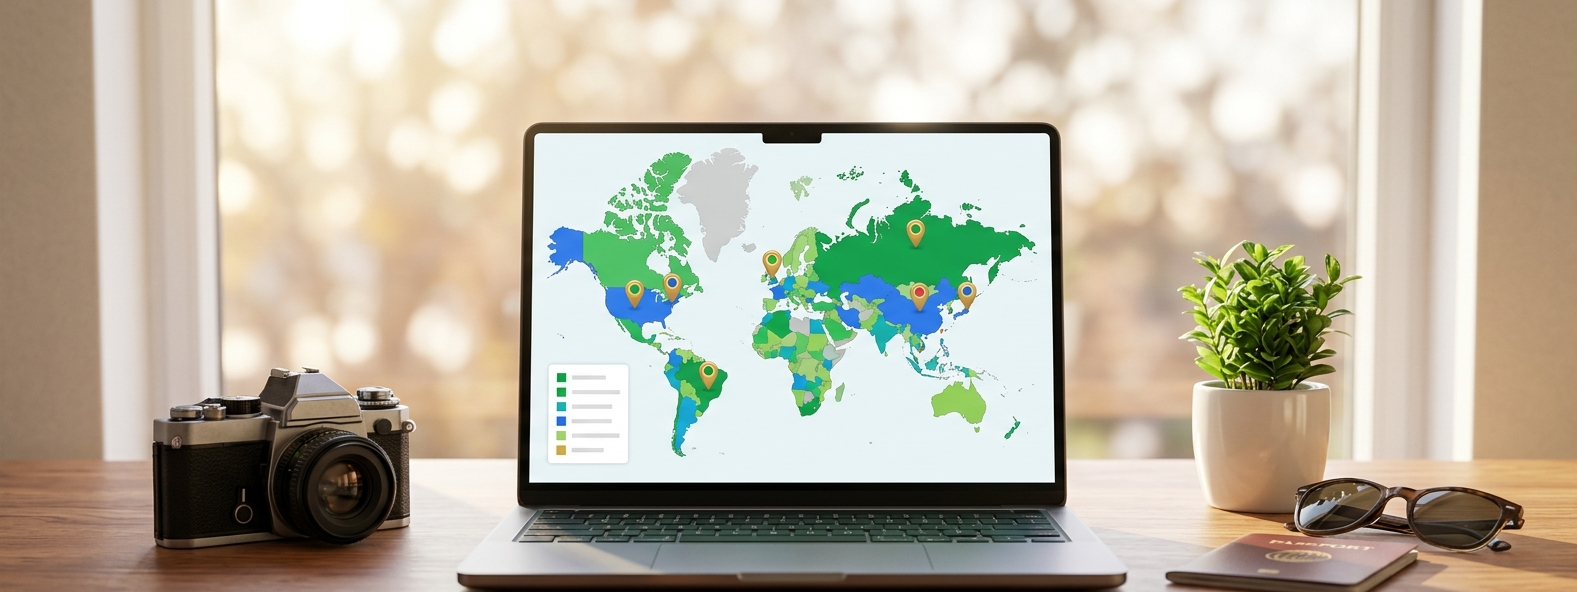
Readers love to see where you've been and where you're headed next. Using WorldMap Pro, you can create professional "Been There" maps that match your blog’s aesthetic perfectly—no coding or expensive plugins required[cite: 7].
Why Travel Bloggers Choose WorldMap Pro
When you're on the move, you need tools that are fast, reliable, and privacy-conscious[cite: 7].
- No Data Tracking: All your travel data is processed locally in your browser. We never track where you've been or collect your itinerary.
- Brand Consistency: Use the custom color picker to match your map colors to your blog's branding[cite: 7].
- Ultra-High Resolution: Export your maps at 3,200px for retina-ready displays or printable travel posters[cite: 7].
Blogger Strategy: Create a "Bucket List" map. Color the countries you've visited in your brand’s primary color and the ones you plan to visit in a lighter shade. It’s a great way to engage your audience[cite: 7]!
How to Feature Maps in Your Travel Content
1. The "Been There" Index Page
Every travel blog should have an "About" or "Destinations" page. An interactive world map serves as the perfect visual anchor, allowing readers to see your global footprint at a glance[cite: 7].
2. Visualizing Regional Guides
Writing a guide about Southeast Asia? Zoom into that specific region using our tool, highlight the countries included in your guide, and add interactive pins to the cities you recommend[cite: 7].
3. High-Quality Social Media Posts
Pinterest and Instagram are driven by visuals. Use the export feature to create a clean, high-resolution PNG of your travel year-in-review to share with your followers[cite: 7].
Creating Your Map in 3 Simple Steps
- Select Your Layout: Choose a blank world map or a regional view[cite: 6].
- Customize: Use the "Fill" tool to color countries and add markers to your favorite cities[cite: 7].
- Export: Download your map as a high-res image or a PDF for your physical travel journal[cite: 6, 7].